Outdoor Light Placement Guide: Boost Curb Appeal & Safety
August 12, 2025
Most homeowners treat outdoor lighting as an afterthought when planning their exterior. A porch light here. A few pathway lights there. The result is predictable: dark spots near the garage, a front door that fades at night, and a yard that loses its shape after sunset. Thoughtful outdoor light placement changes that. When planned intentionally, it can transform your property into an outdoor oasis, making the house feel welcoming and secure while giving architectural elements and landscaping real presence after dark.
Quick Summary
Who This Is For
Homeowners planning an outdoor light placement layout for a new build or renovation
Anyone upgrading outdoor lights to improve curb appeal, safety, and nighttime visibility
DIY installers looking for exact mounting heights, spacing rules, and lumen guidelines
Designers creating a cohesive landscape lighting plan for residential exteriors
Key Takeaways
Proper outdoor light placement starts with focal points like the front door, garage, pathways, and architectural features
Mount outdoor sconces 60 to 66 inches above ground and space path lights 6 to 8 feet apart for balanced illumination
Use warm white 2700K to 3000K color temperature and appropriate lumen output to avoid glare
Layer path lights, accent lighting, and garage lighting to create depth, eliminate dark spots, and enhance curb appeal
Why Outdoor Light Placement Matters
Outdoor lighting improves both safety and curb appeal. A well-planned lighting design eliminates dark patches and creates soft lighting that guides guests comfortably across the yard at night. Unlit steps and dark entry points increase the risk of trips and unwanted attention. Properly placed fixtures eliminate blind spots and make the property easy to navigate after dark.
At the same time, strategic lighting highlights architectural details, reveals texture in stone and brick, and creates a polished, intentional look from the street. The difference between harsh brightness and refined lighting is contrast. Brighter focal points balanced by a softer ambient glow create depth and draw attention to the features you want highlighted.
Lighting Design Fundamentals
Before choosing fixtures, understand the principles that separate a cohesive lighting design from a random collection of lights.
In most outdoor spaces, focal points include the front door, architectural elements, mature trees, a water feature, and the primary pathway leading to the house. Once those are defined, placement becomes intentional rather than decorative. Avoid lighting everything evenly. Use contrast instead. Let key features stand out while surrounding areas remain softly illuminated. Shadows add structure and dimension.
Beam angle determines how concentrated the light appears. A narrow spotlight angle can illuminate specific walls or architectural features, while a wider angle spreads illumination across a patio or garden. Narrow beams between 10 and 25 degrees highlight trees and architectural details. Medium beams wash walls and broader surfaces. Wide beams provide general ambient coverage for patios and open areas. Most effective designs combine all three.
Lumens determine brightness. The goal is optimal results without glare. Too much light often produces the opposite effect, flattening the landscape instead of enhancing it. Path lights typically work well at 100-200 lumens. Accent lights range from 50 to 300 lumens, depending on the feature.
Flood fixtures for security or broad coverage often fall between 700 and 1,300 lumens. More light is not always better. Glare undermines the entire design. For residential exteriors, warm white between 2700K and 3000K is almost always the right choice. It flatters architecture and landscaping while creating an inviting atmosphere.
Once you understand the fundamentals, placement becomes much simpler. The most effective outdoor lighting plans move zone by zone, starting at the entry and working outward.
Placement by Zone
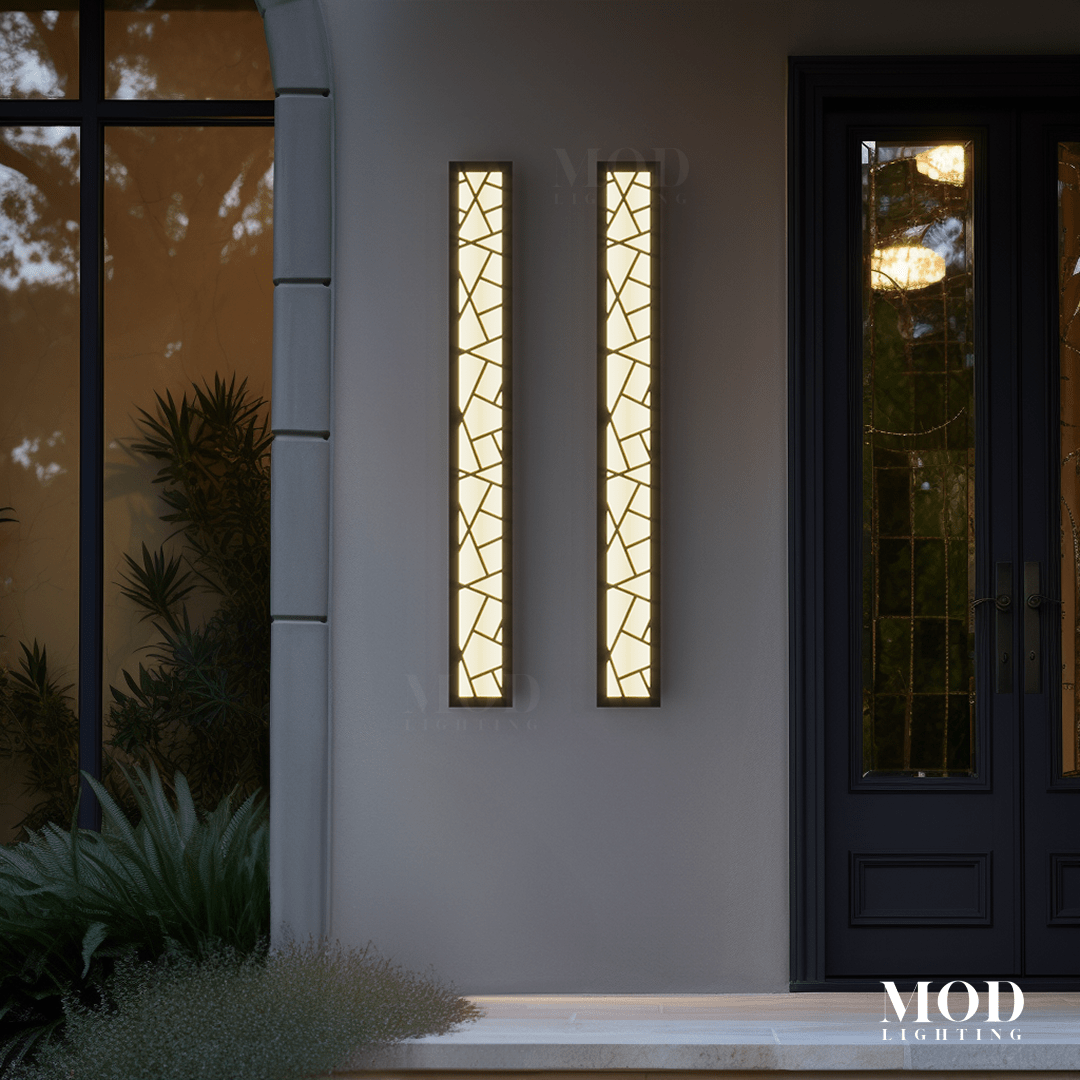
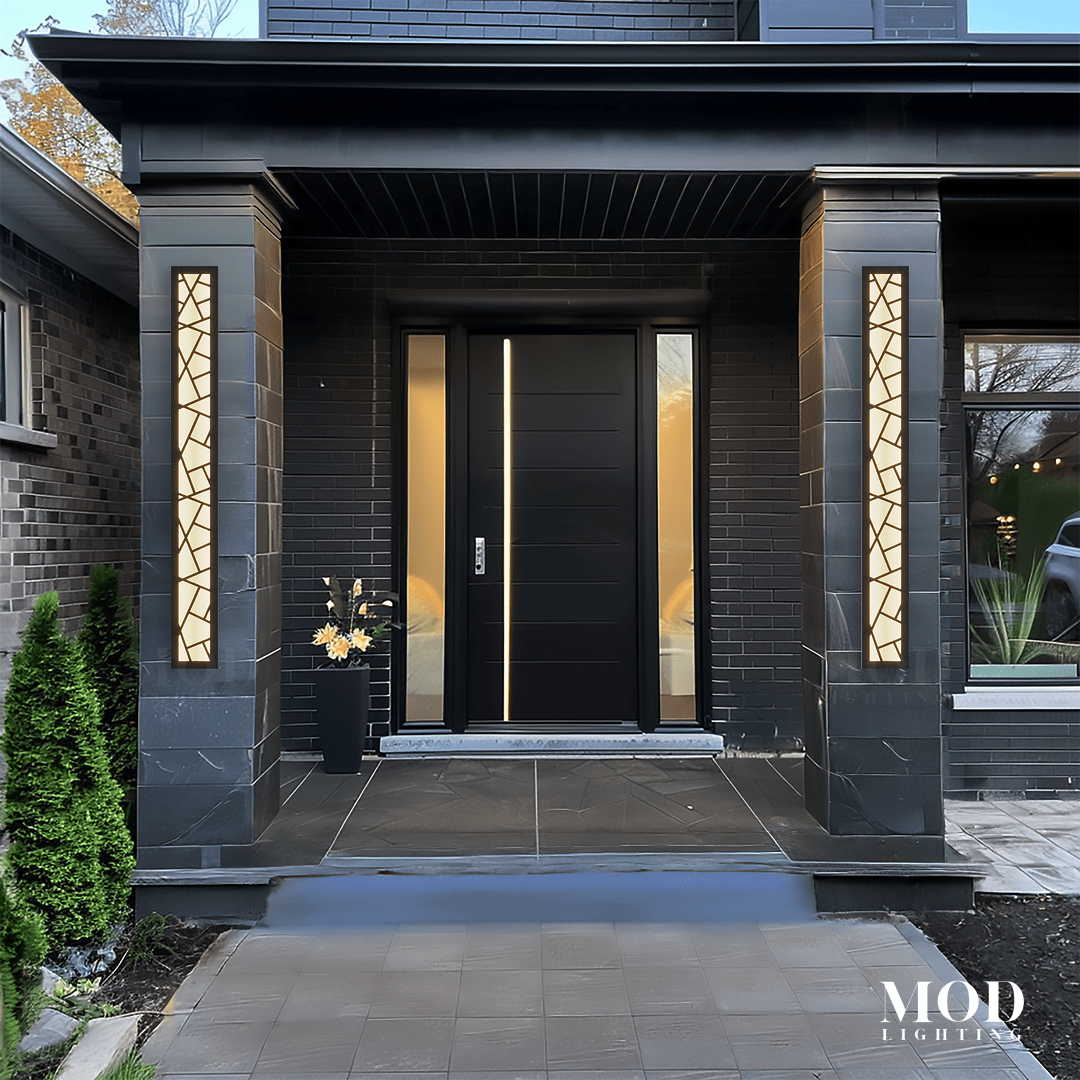
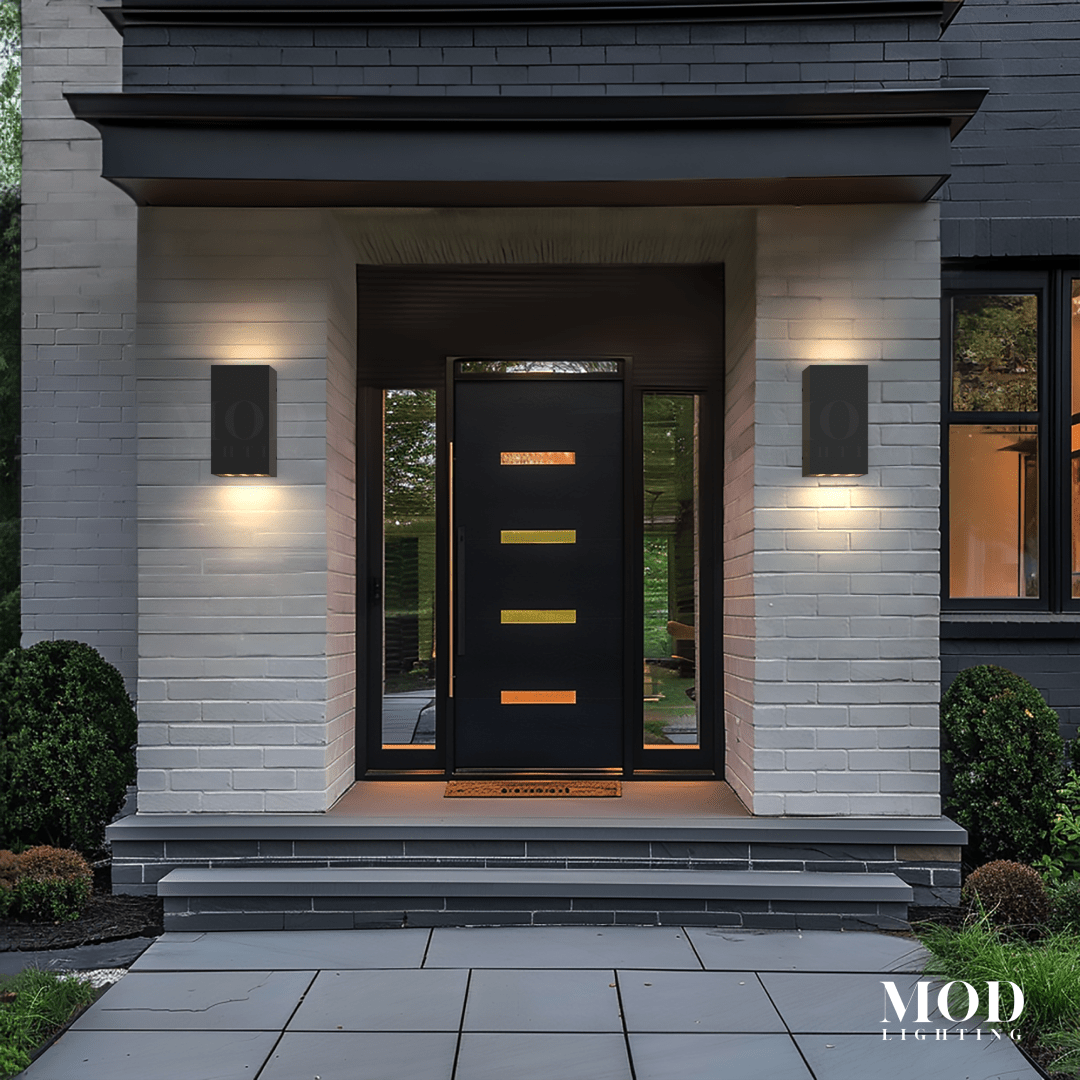
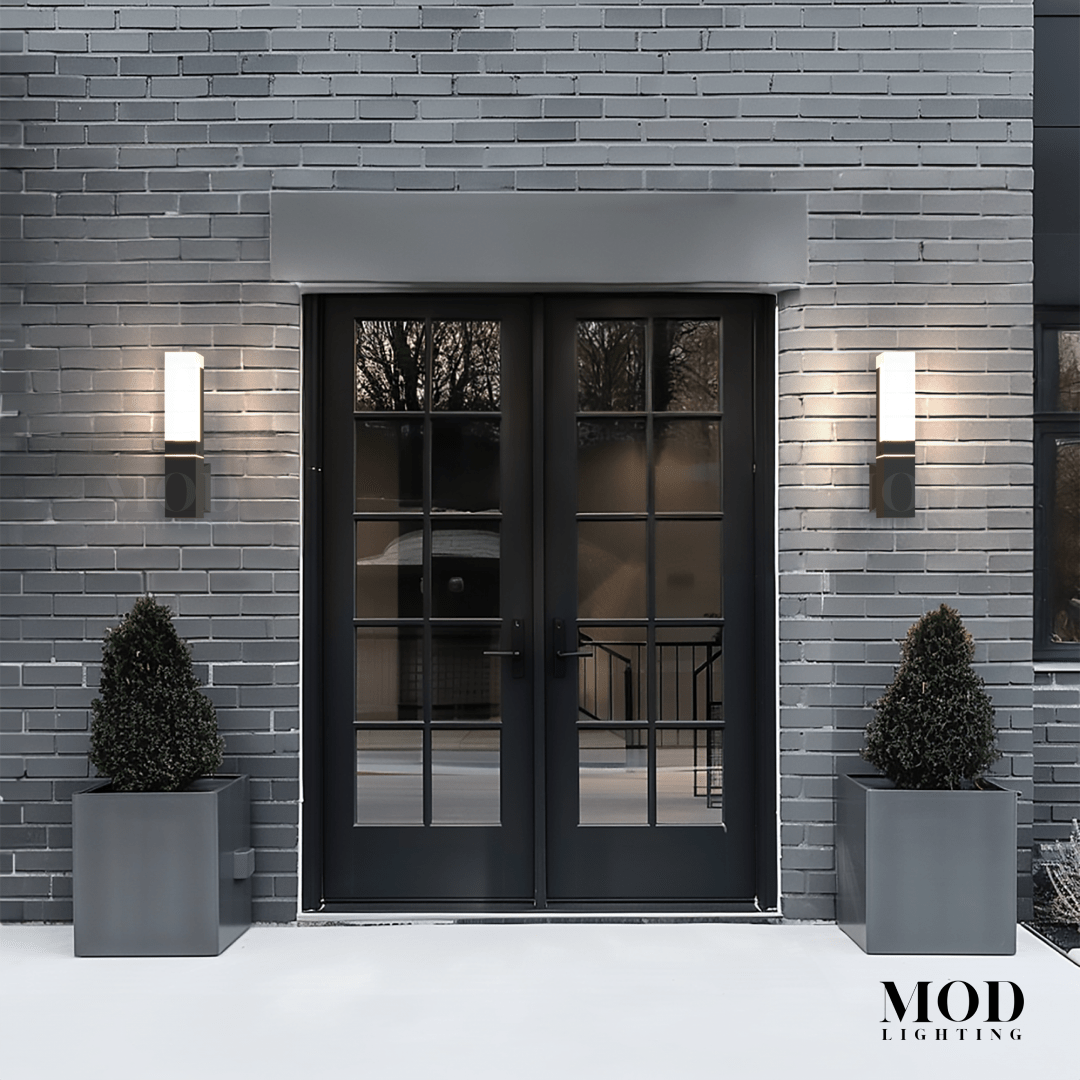
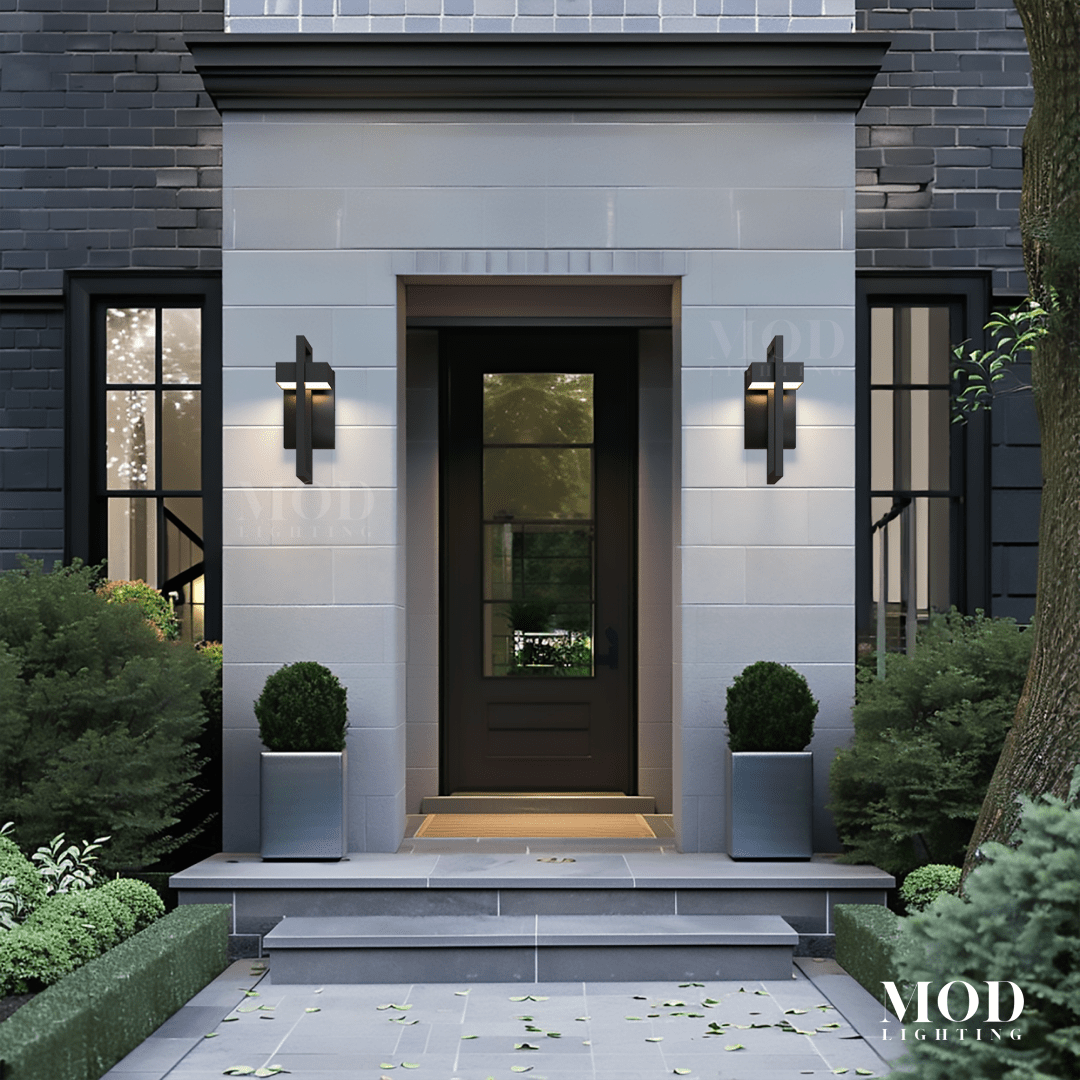
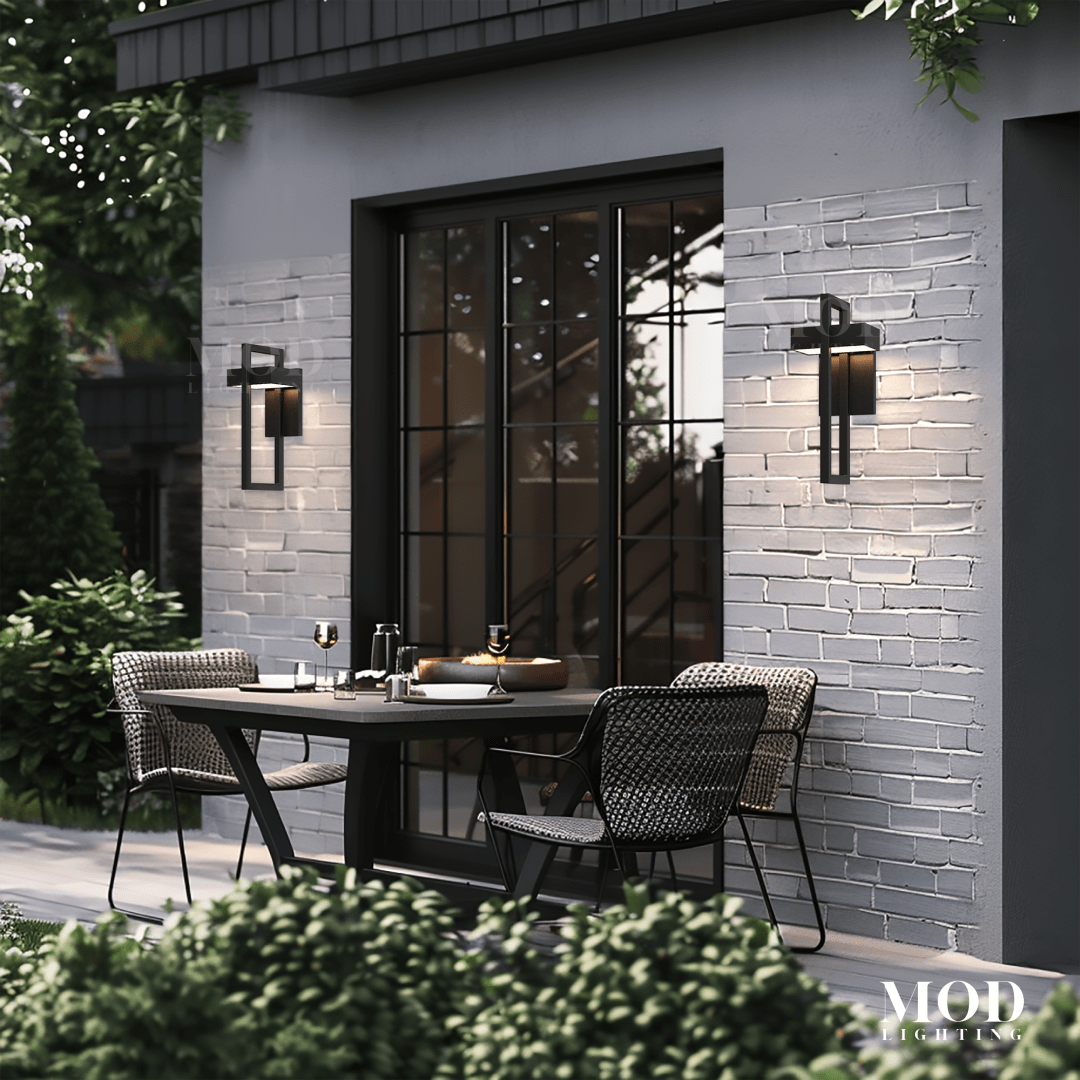
Front Door and Porch Placement
The front door is the visual anchor of your exterior. Get this zone right first. Outdoor sconces flanking the door should be mounted 60 to 66 inches above the ground. This height places the light near eye level, illuminating faces naturally without casting heavy downward shadows. Position each fixture approximately 6 inches from the door frame edge to create balanced framing. On covered porches, ceiling fixtures should be centered within the porch footprint. If the porch extends deeper than eight feet, two evenly spaced fixtures often provide better coverage than one.
Maintain at least 7 feet of clearance from the ground to the bottom of any hanging fixture. For front door pendants, a reliable sizing guideline is a diameter around one-fifth of the door height. For a standard 8-foot door, that translates to roughly 19 to 20 inches. Always use damp-rated fixtures in covered areas and wet-rated fixtures where direct rain exposure is possible. If the porch serves multiple functions, installing dimmers allows you to shift from bright task lighting to a softer evening glow.
Garage and Driveway Placement
The approach to your home should feel secure and clearly defined. Garage sconces are typically mounted at the same 60 to 66 inch height used at the front door. Install one fixture on each side of the garage door, positioned 6 to 12 inches from the frame edge. For wide multi-car garages, adding a third fixture centered above the door can improve coverage and symmetry.
Driveway post lights are generally mounted 42 to 48 inches above ground and spaced 10 to 15 feet apart. Aim fixtures downward and slightly inward so the pavement is illuminated without creating glare for drivers. Because the garage is a primary security zone, integrate motion sensors near garage doors and side paths. Pair them with a simple dusk-to-evening smart schedule so the area never falls completely dark.
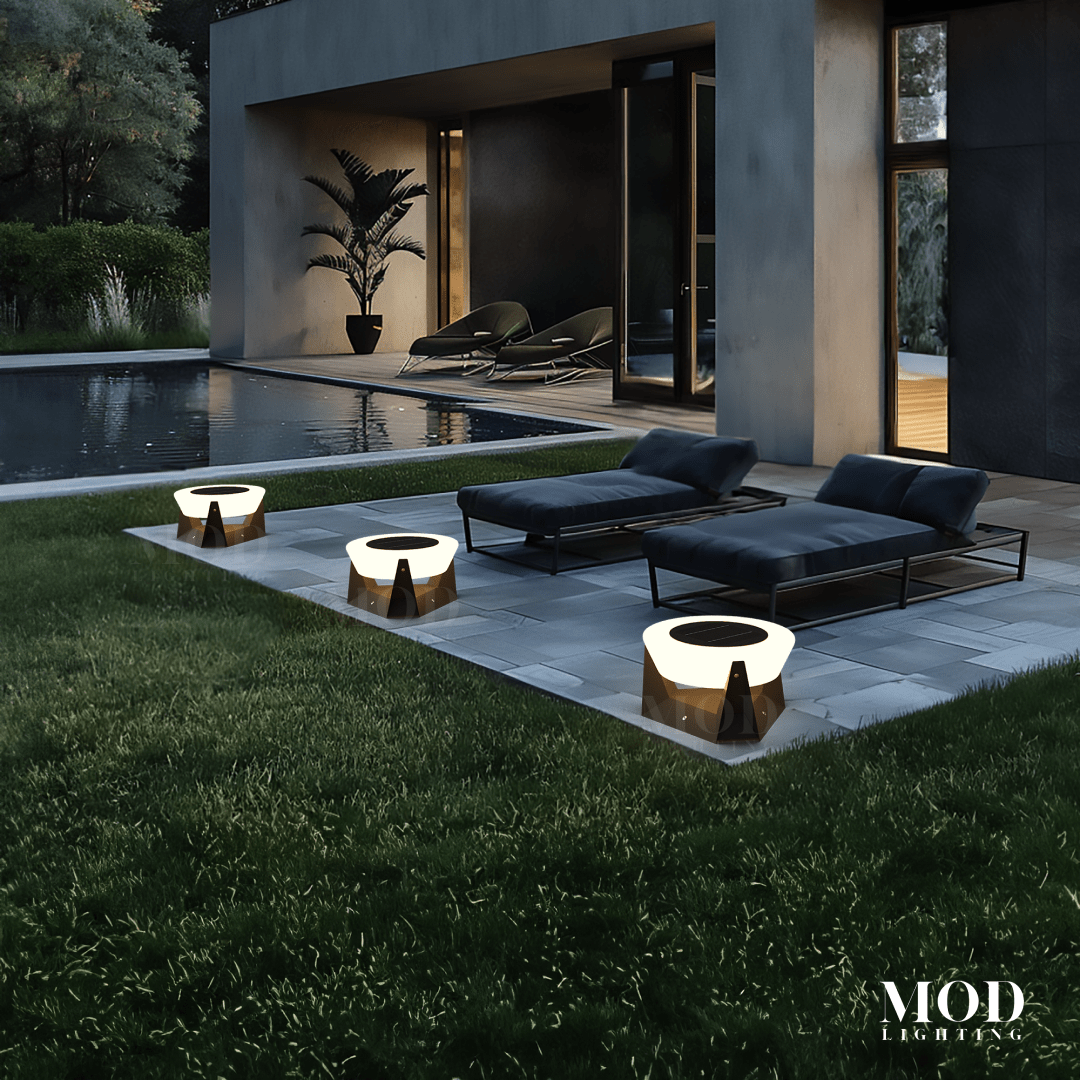
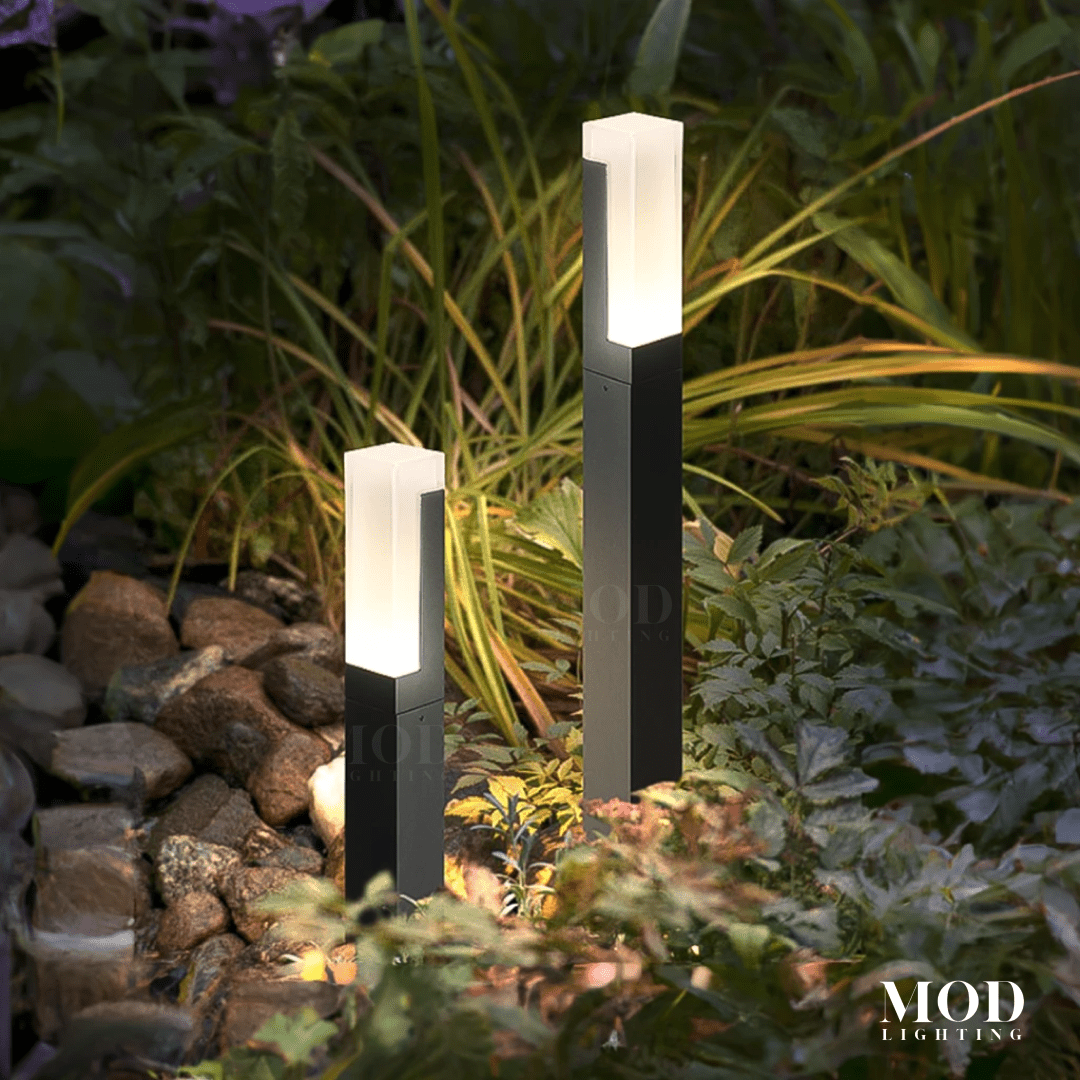
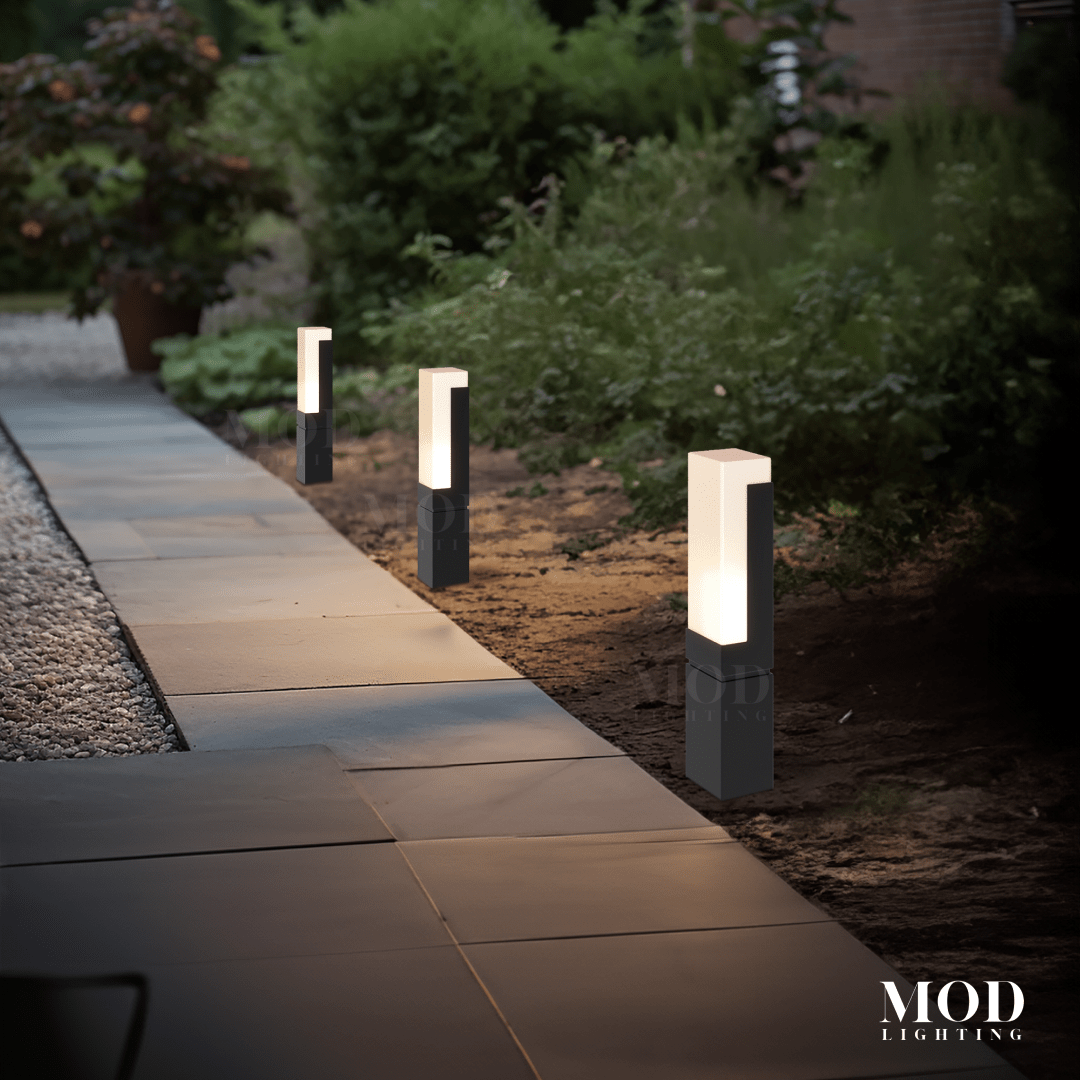
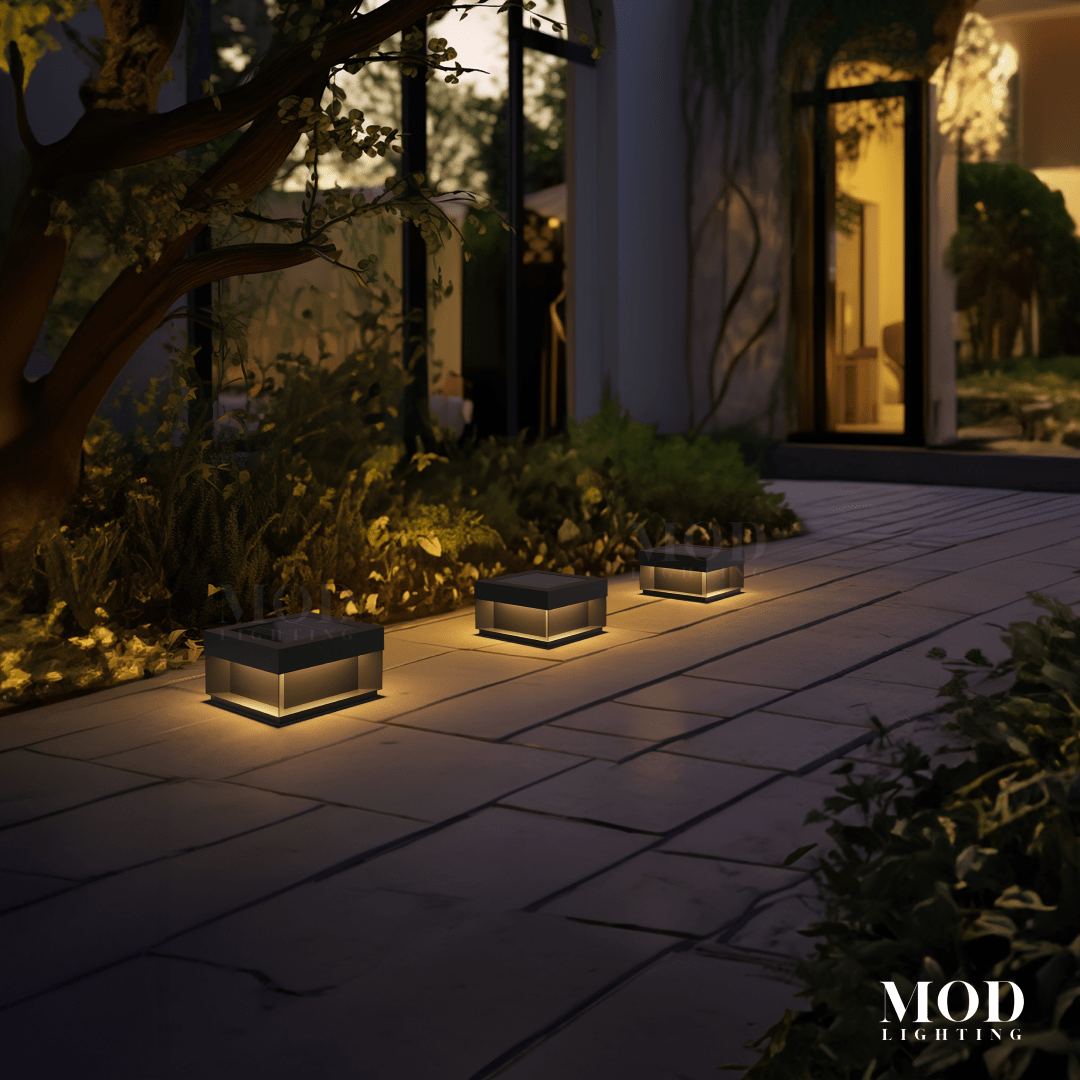
Pathway Lighting
Pathway lighting is one of the most searched and misunderstood elements of outdoor light placement. Path lights should guide movement without creating a runway effect. Mount fixtures 12 to 18 inches above the ground and space them approximately 6 to 8 feet apart. Stagger them on alternating sides of the walkway for a more natural flow.
Spacing can flex slightly depending on fixture output and beam spread, but the goal is overlapping pools of light rather than isolated bright spots. If you can see the exposed bulb from standing height, the fixture is either too bright or poorly aimed.
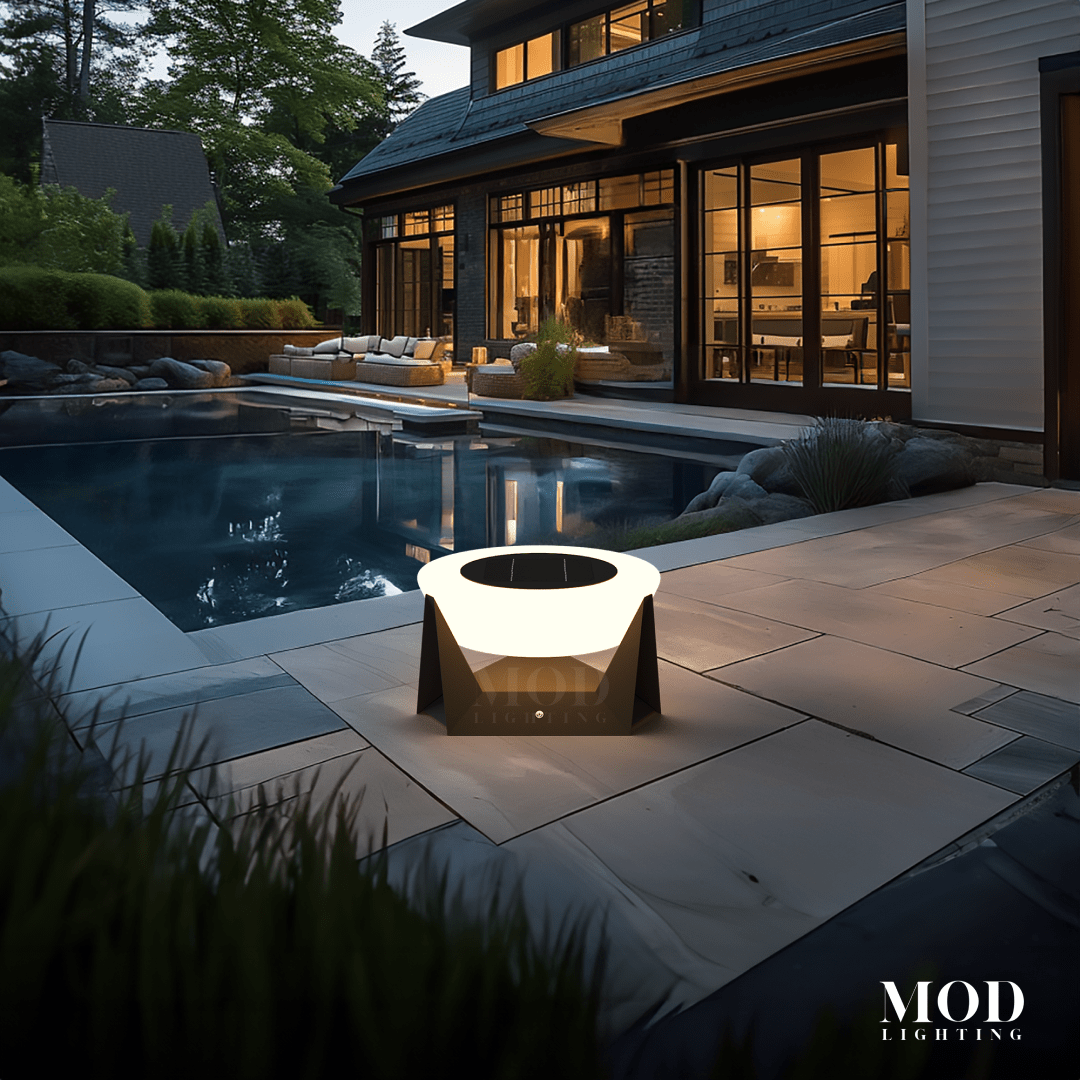
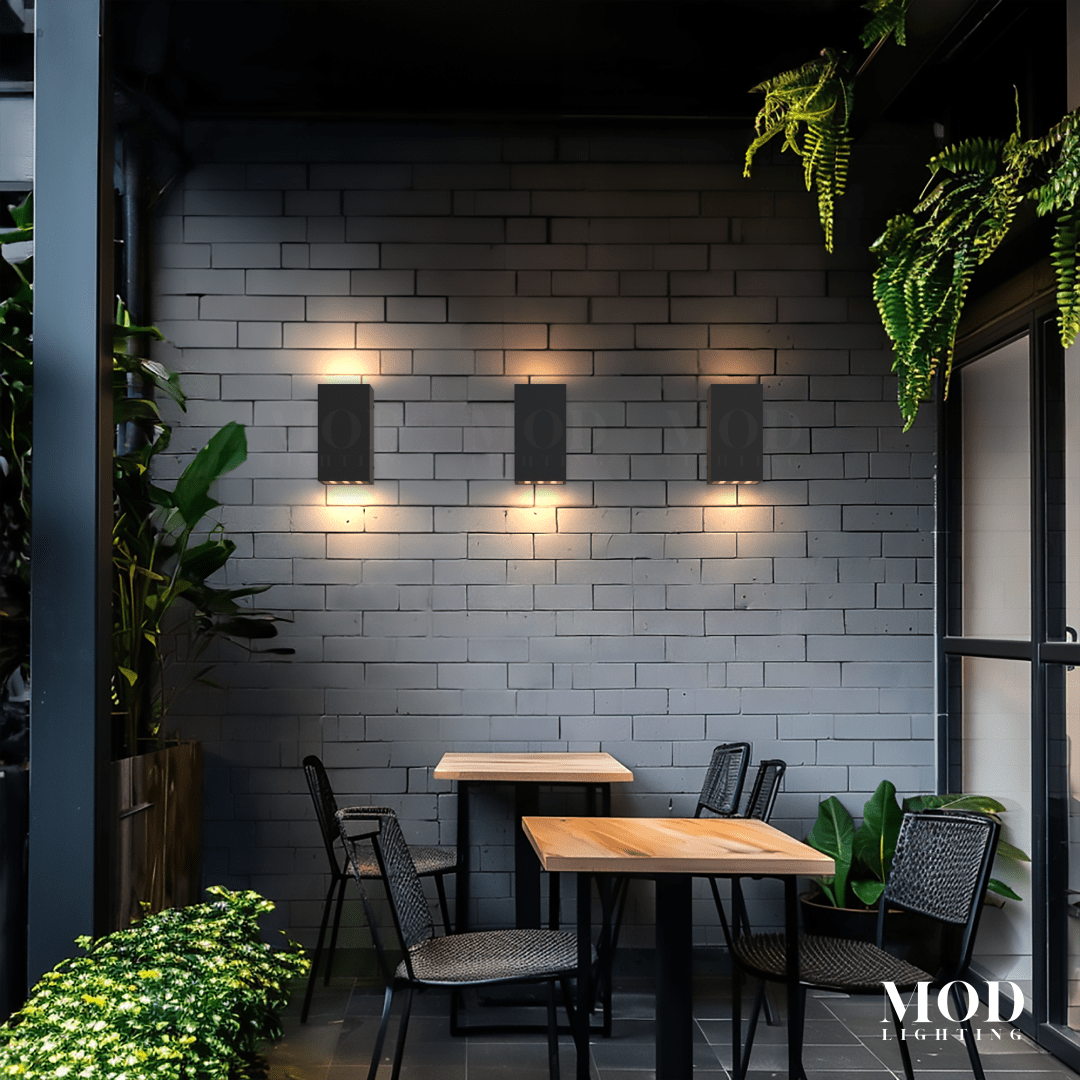
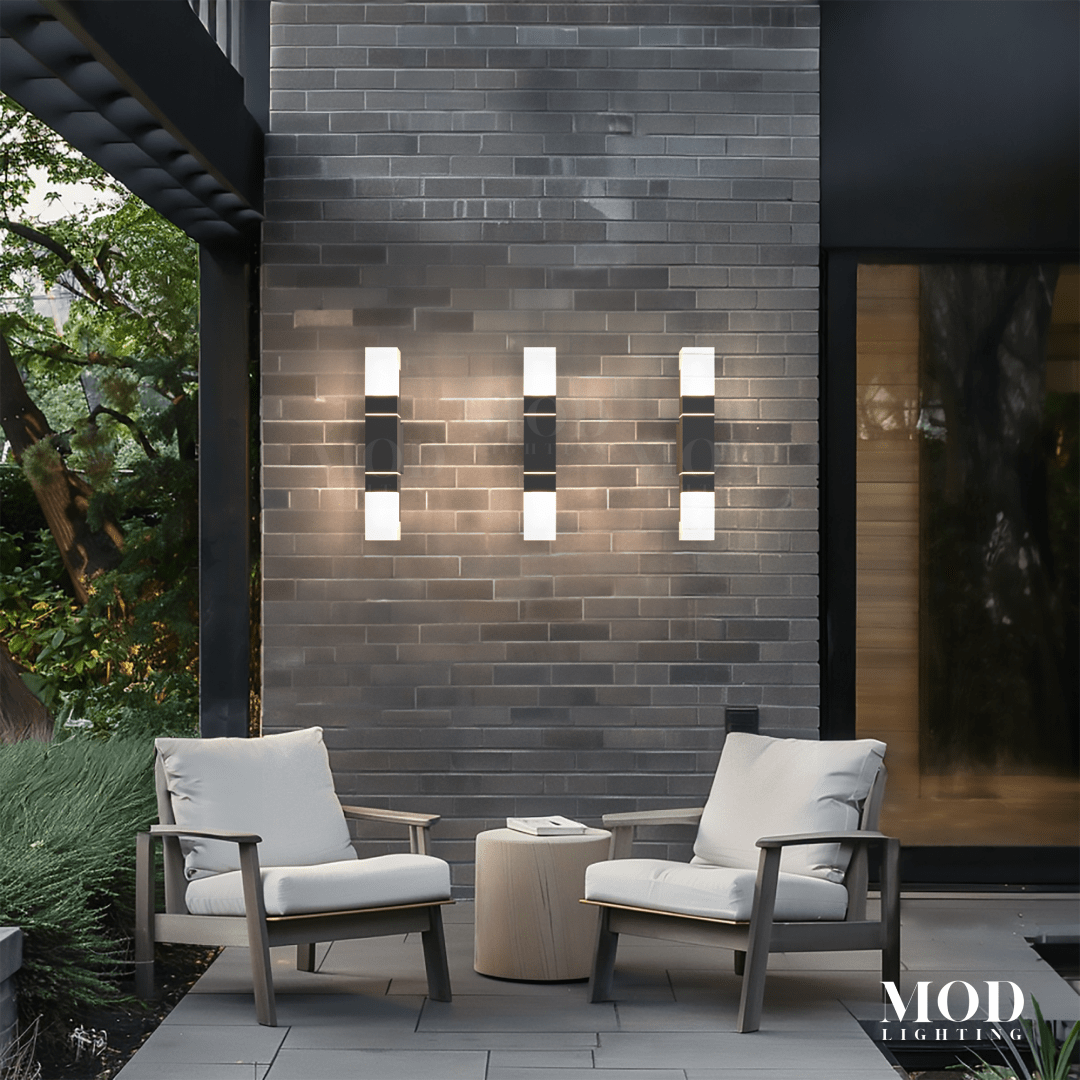
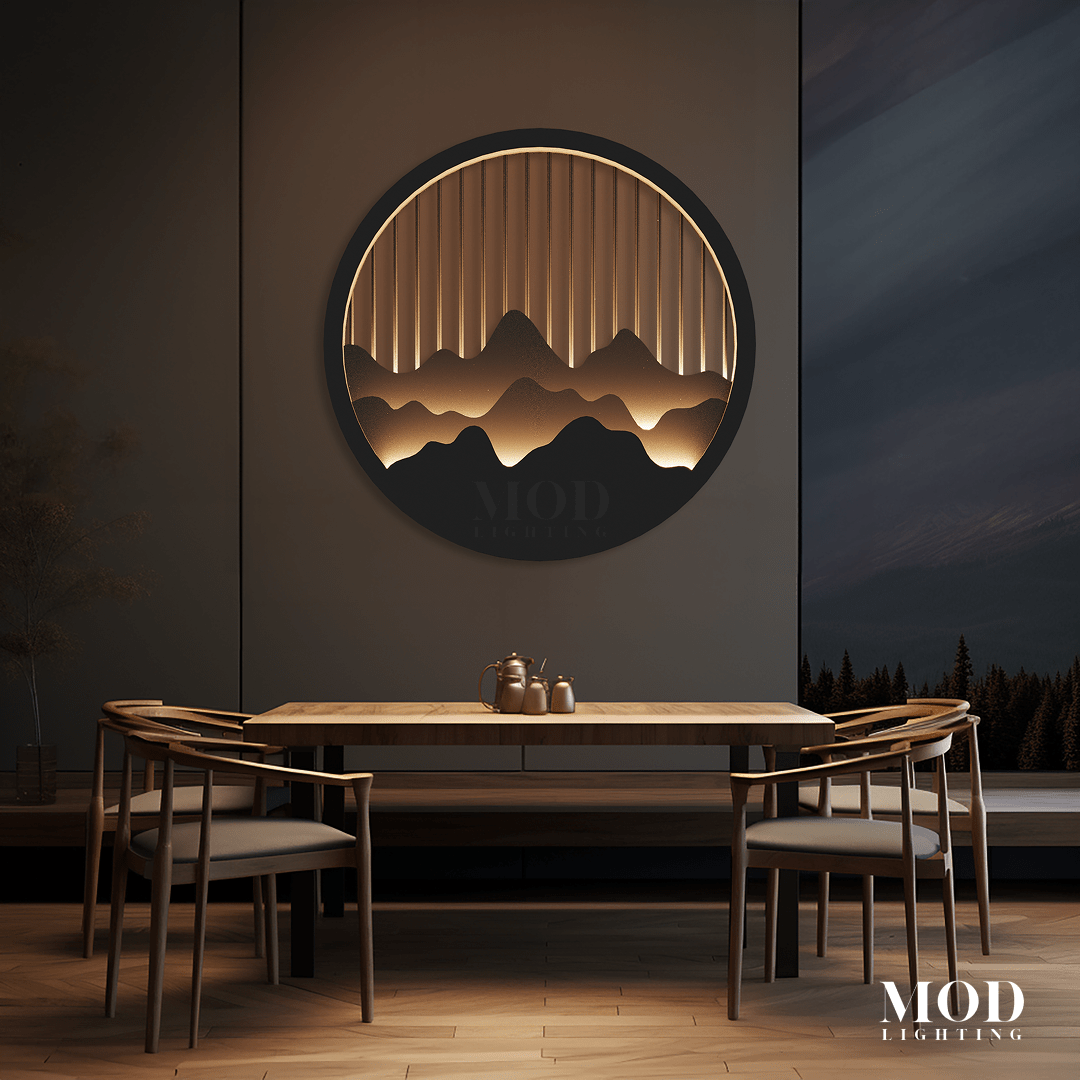
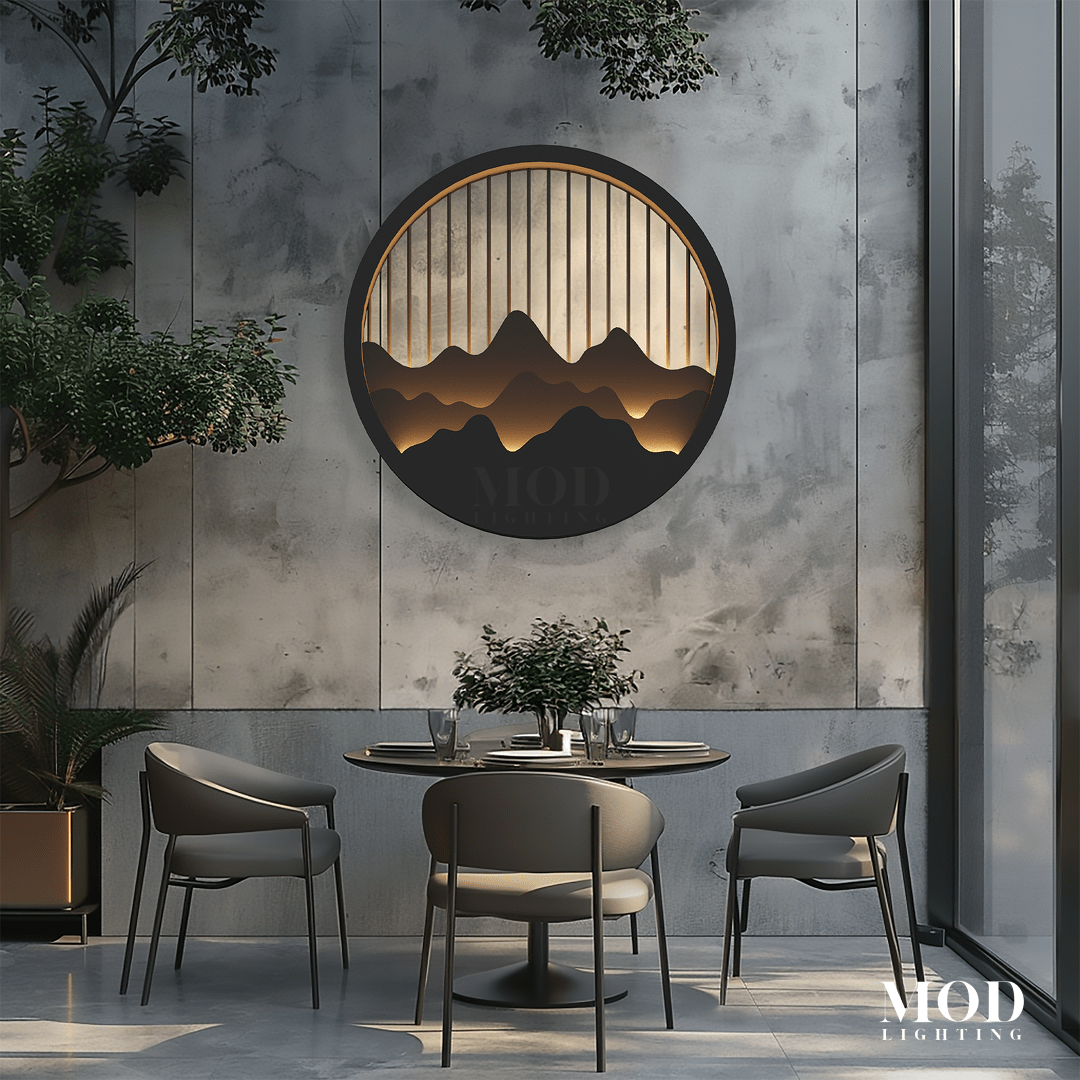
Accent, Up Lighting, and Architectural Features
Accent lighting is what gives your home depth after dark. Position accent lights to highlight defining features such as trees, textured walls, architectural columns, or a stone facade. Keep the fixture discreet and let the light itself be the focal point.
Ground-mounted up lights should be placed 1 to 3 feet from a tree trunk or wall and angled upward between 30 and 45 degrees. For textured walls, use a shallow grazing angle to reveal material detail. Down lighting from eaves or soffits provides comfortable coverage for walkways and patios. Spacing fixtures every 6 to 8 feet creates an even wash across the facade while minimizing glare.
Be mindful of light trespass. Avoid directing beams into neighboring windows or across property lines.
Test Before Final Installation
Lighting always looks different at night than it does on paper. Before finalizing installation, temporarily position fixtures and observe the effect after dark. Walk from the street to the front door and look for glare, dark gaps, or misplaced focal points. Small adjustments in spacing and aiming often make a significant difference.
Maintenance and Smart Controls
Outdoor lighting performs best with periodic attention. Inspect fixtures annually for moisture buildup, corrosion, or loose hardware. Clean lenses to maintain full brightness. Review motion sensor sensitivity and update smart schedules seasonally as sunset times change. A properly adjusted system maintains security while conserving energy.
Designing Outdoor Lighting With Intention
Outdoor light placement works best when every fixture has a purpose. From the front door to the far edge of the driveway, each light should guide movement, highlight key features, and eliminate dark gaps without overpowering the space. When placement, brightness, and color temperature are aligned, your exterior feels intentional, secure, and visually balanced. Done well, outdoor lighting not only illuminates your home at night but also elevates the entire property.